Technique
Fluorescence microscopy: what a lab needs to get started
Filters, light sources, a dark room and a few working habits. A practical overview for laboratories adding fluorescence to routine microscopy.
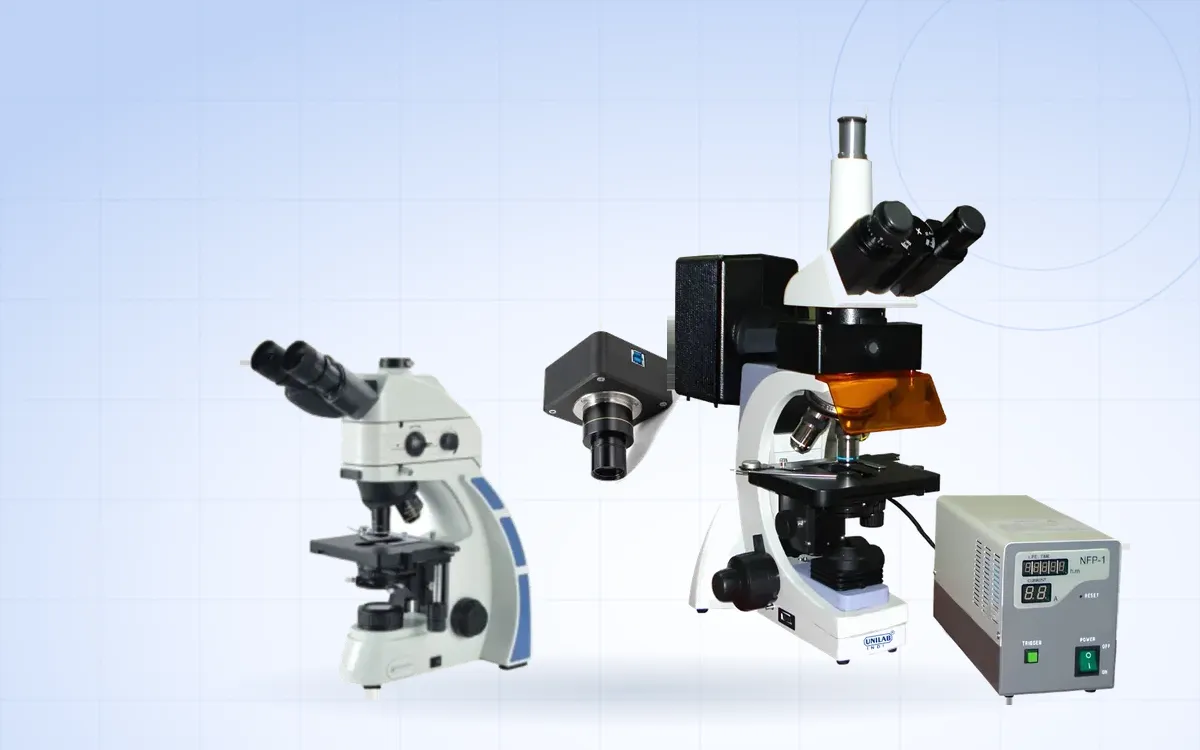
Fluorescence microscopy shows structures that are labelled with dyes which glow when light of a particular colour falls on them. It is used in microbiology, immunology, cell biology and pathology. Compared with ordinary bright-field work it needs a few extra components and some different habits.
How it works
A fluorescent dye absorbs light at one wavelength and emits light at a longer one. For example, a dye might absorb blue light and glow green. The microscope's job is to send strong light of the absorbing colour onto the specimen, then show you only the emitted colour against a dark background.
The filter set
Most fluorescence microscopes use epi-illumination: the excitation light comes down through the objective. Each filter set, often held in a filter cube or block, has three parts:
- Excitation filter. Passes only the colour that excites the dye.
- Dichroic mirror. Reflects the excitation light down to the specimen and lets the longer-wavelength emitted light pass up to the eyepieces.
- Barrier (emission) filter. Blocks any remaining excitation light so only the fluorescence reaches your eyes.
Choose filter sets that match the dyes you use. Blue and green excitation sets cover many common stains.
The light source
Fluorescence needs intense light. Many systems use a high-pressure mercury lamp, such as a 100 W HBO lamp, which gives very bright lines in the ultraviolet and visible range. These lamps need some care:
- Let the lamp warm up before use, and avoid switching it on and off repeatedly in a short time.
- Keep a record of operating hours and replace the lamp at the end of its rated life.
- Follow the manufacturer's instructions for alignment and replacement.
LED fluorescence light sources are an alternative with instant on and off and long life.
Protecting users and samples
Ultraviolet and intense blue light can harm the eyes. Keep the protective barrier in place and never look into the light path without the filters fitted.
Fluorescent dyes fade under illumination, an effect called photobleaching. Close the shutter when you are not looking, find your area under bright-field or low power first, and take images promptly. Anti-fade mounting media help.
The room
Fluorescence is much easier to see in a darkened room. A space with blinds or no windows makes faint signals visible and reduces eye strain.
Recording results
Fluorescence images often need to be shared or compared over time. A camera on a trinocular port, or an integrated imaging system with its own display, makes documentation part of the routine rather than an extra step.
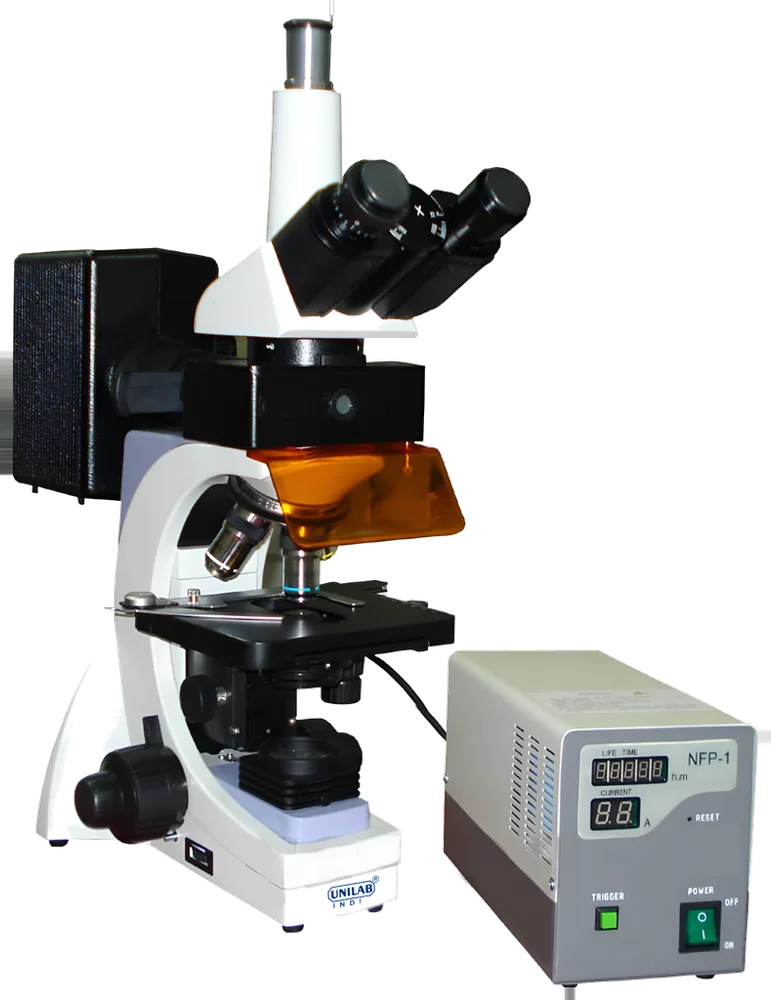
Fluorescence Binocular Microscope
Used to view specimens that emit fluorescence under specific light wavelengths.
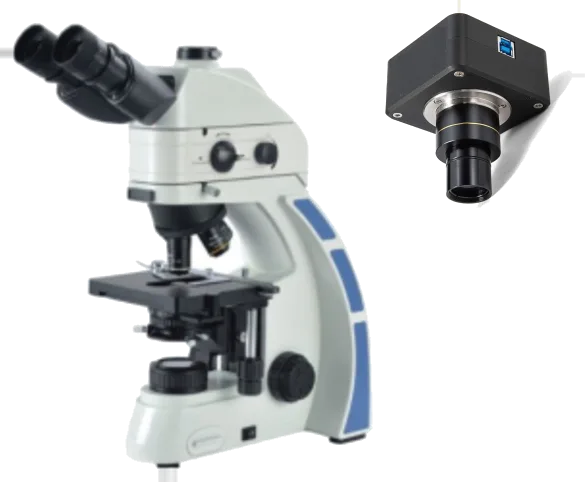
Fluorescence Cell Imaging System
Best for: Fluorescence & imaging